While I’m waiting for more thread to arrive in the post, I’m compiling for myself a thread catalogue. This is really just somewhere for me to organise and categorise the various types of thread that I will be stocking and dyeing.


Initially this was just going to be a notebook and cover, but, well, these things often get a bit out of hand, and now it’s slightly more complicated than that.

The colour palette came about by accident, after I dyed these thick cotton boucle yarns, which will wrap around the whole thing to tie it shut:

I really like the way this very thick-and-thin dimensional cotton slub yarn can be flattened when it’s couched with long stitches:

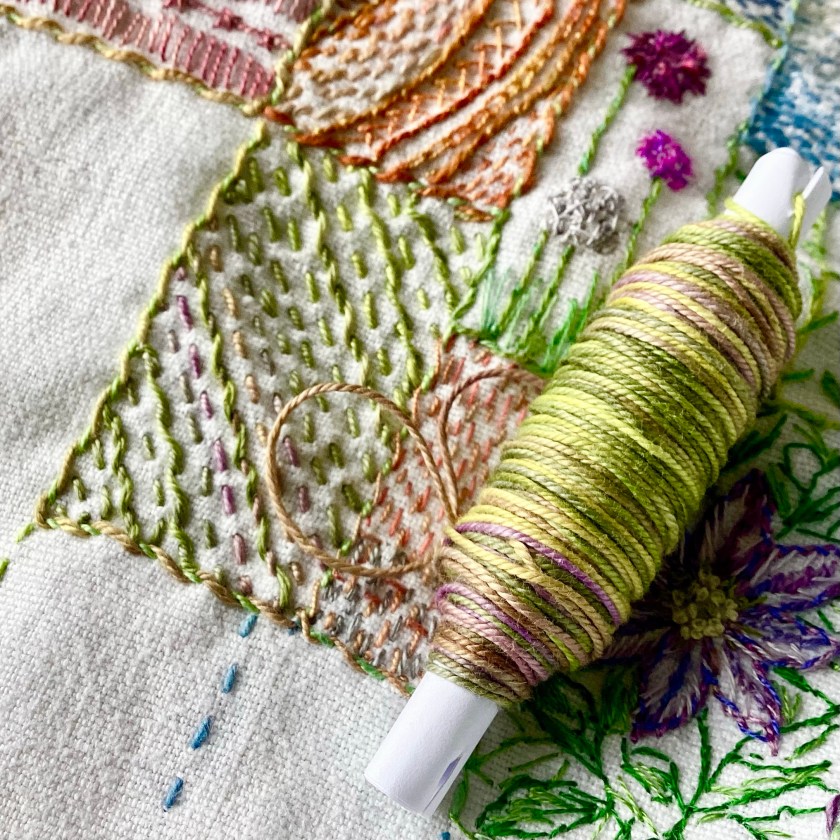
Anyway, back to over-complicating things, and now it’s a notebook in a wraparound cover, with a pocket for index cards carrying samples and information about the various threads. The pocket came from a silk shirt that I dyed.

I find it very useful to round up information for comparative purposes, so that I can see at a glance how (for instance) silk and cotton threads compare in terms of weight or thickness. Thread weights are sometimes given as an nm figure, which I don’t find particularly helpful. Broadly, this system translates as the number of meters per 1g of thread (the first number) and the number of plies or strands in the thread (the second number). So the silk thread pictured below has a nm of 8/2, which tells you it’s a 2-ply thread, and you get about 8 metres of it per gram. For comparison, standard sewing thread (the kind you would use in a machine) is usually something like 60 or 70/2, which is a lot finer. As a visual thinker, I find it much easier to picture thread weights in terms of wraps per inch – I’m not certain but I think this is a system that is more commonly seen in the knitting world, to help with substituting yarn weights in patterns. I find it much easier to understand that the silk thread below has about 23 wraps per inch (the number of times you can wrap it around a one-inch strip without leaving any gaps).

Finer silk threads, which have an nm of 16/2 and 30/2, have wraps per inch of about 29 and 44 respectively. I find this easier to visualise.

I’m using commercial cotton perle threads as controls, just to see how the weights of my various hand-dyed threads will compare. And even that isn’t as ‘standard’ as you might expect. I’ve used DMC perle 3 to 8 to count wraps per inch, but I didn’t have enough DMC perle 12 so had to use a Valdani perle 12 instead. And here’s the surprise – there isn’t a huge amount of difference between DMC perle 8 (43 wpi) and Valdani perle 12 (44 wpi). I can see by enlarging the photos that the 12 card maybe isn’t wrapped as closely as the 8, but that would only account for another 3 or 4-ish.

This is turning into quite a rabbit hole, isn’t it? I expect somebody somewhere will tell me I’ve got too much time on my hands, but I find this kind of thing really fascinating. Ultimately I suspect this will end up being a self-referencing closed system that only I will understand, and I think that’s probably ok. As soon as thread reinforcements arrive, I’ll be able to start winding skeins for dyeing again – but in the meantime I’m enjoying some quite reasonable down time.