July days

Daily stitching: July flowers

Another month gone, just like that.

A flower a day

I’m enjoying these templates for 2023, which you can find here. I didn’t think there was enough green on the page so I added some impromptu leaves here and there.

daily flowers, simple stitches

All threads are equal, but some threads are more equal than others, (with apologies to George Orwell). Thicker threads can look a little out of scale at this size, and I much prefer the motifs that have been stitched with finer threads – probably perle 12 and finer.

The very simple fly stitch flower below reminds me a bit of a snowflake. Summer is always followed by autumn and winter, and winter is always followed by spring and summer. The wheel is constantly turning, and time doesn’t stand still.

simple fly stitch flower

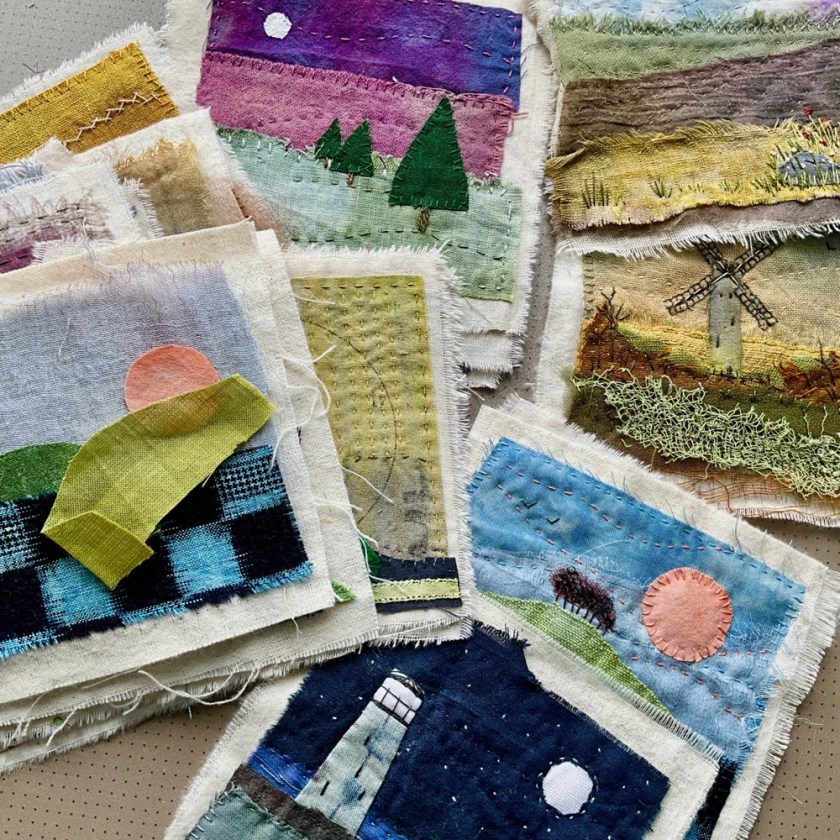
I think of these pages as self portraits. The other side is the face we don’t generally show to the world.

the other side of July

I’ve felt a hint of autumn in the air some mornings already, in this part of the UK, and the light is starting to change. The traditional pagan calendar sees autumn beginning tomorrow, with first harvest. My August template is meant to be a kind of geometric cornucopia, loosely based on the shape of traditional corn dollies that are plaited and woven at the end of the season and kept to ensure a fruitful harvest the following year. I’m looking forward to a more autumnal colour palette.

August awaits

We found three leftover ears of wheat by the side of a farmer’s field while out walking a few years ago. The harvest had already been gathered, and these were lying on the ground. I plaited the stalks (very inexpertly, as you can see) and we hang it on the hearth at this time of year as a wish for fruitful endeavours.

And on that note, wishing you a happy and fruitful Monday 🙂

Painting the land

Recently I rediscovered some work from a couple of years ago, from the pre-blog 100 Days of Winter series (all the pictures are buried on Instagram if you can be bothered to go back that far. 2019/20 I think it was). I sold some, gave some away, and still have a few left, which I’ve started reworking.

Work old and new, 4” square

I’m in the process of writing/creating an online course showing how to make these, and spent an engaging hour or so this morning experimenting with colouring some fabric scraps.

Painting some scraps

I’ve used watercolour, acrylic ink, and Dye-na-Flow fabric paints. An additional extra was accidentally creating some collage paper by using painted paper as a drop sheet.

Drop sheet collage paper
Blues and greens, land and sky
Sketchbook page with scraps

Still thinking it through. Learning all the time.

Journal to Book

A few people have asked how I’ve made this year’s long strip of daily stitching into a book. If you do an internet search for concertina-style books you will see that it’s quite an easy technique to adapt for cloth.

This is the process I’m using for turning my daily stitching, on a long strip of vintage bed sheet, into a cloth book.

You will need to make some sort of cover for your book, which will consist of a front cover, a spine, and a back cover – this can be all one piece, as mine is, or you can piece fabrics together so that the spine is a different colour. The cover needs to be a tiny bit bigger (a few millimetres, or a quarter of an inch or so) than your stitch journal pages.

2023 daily stitching, linen cover with simple running stitch
2023 daily stitching, inside back cover

To determine the width of the spine, you will need to fold your stitch journal cloth strip, concertina-style, back and forth, into as many pages as you want to have, and then measure the height of your folded stack. The diagram below shows roughly how the construction will work.

(very rough) diagram showing cover construction and page folds

The height of the folded stack will tell you how wide the spine of the cover needs to be. The spine of my cover is about an inch wide. The first and last pages will be stitched to the inside front and back covers, the valley folds will be stitched to the spine of the cover, and the mountain folds will form the outer edges of the double-sided pages.

Once your cover is constructed, you can start to stitch your completed pages down. It’s possible to stitch all the pages down right away, but I prefer to wait until they’re finished because once they’re attached to the spine, you won’t be able to get at them so easily.

page ready to be stitched down

You can mark the inside of the spine, dividing it into six (this is the number of times you will attach a valley fold) so that you have guidelines for where to stitch the page down. You will basically be sewing every other page to the cover. A running stitch is fine, but you could also backstitch.

marking page divisions on the inside spine of the cover

I use perle 12 cotton thread for stitching the pages to the spine, but any good strong sewing thread would be fine. Here’s the process in action:

stitching a page to the cover

Hope this helps.

Marking Time PDF

Marking Time II in situ

It didn’t take long really to finish this one off. I painted a wooden dowel white, added some yarn to hang it from, made a label for the back and there it is.

A few people have asked for a pattern for this wall hanging. It’s taken some getting round to, but there is now such a thing in my shop here

first page of PDF pattern
17-page PDF

Isn’t it a good feeling to have something finished?

Have a lovely weekend.

Creating darkness (and a free sleep mask pattern)

I mentioned last week that I struggle to get enough sleep in the summer because of the increased amount of light. It doesn’t get properly dark again until August in this part of the world. Night time in June and July is just perpetual twilight, and I need night to be dark. Prolonged lack of sleep makes me as cranky, irritable, and plain exhausted as anyone else, so I thought I’d try a sleep mask as suggested in a comment. I ended up with this:

padded sleep mask, with depressions for eyes and nose bridge

It was actually quite effective, if a bit weird-looking.

BUT I don’t like it. Textiley people are often very particular about the texture and quality of fabrics, and I just don’t like the feel of this. It’s made from some sort of polyester-neoprene-type stretchy fabric, and the synthetic foam padding on the face side has a very strong smell that washing and airing outside hasn’t eliminated. The strap is also quite cumbersome and the slider clip thing gets stuck in your hair.

So while the principle worked ok, I wondered if I could make something that would be any nicer. I drew round the mask and adjusted the shape slightly, and made a pattern for the padded bit that fits over your eyes. I wanted to make it in a nicer fabric and chose some silk twill in a very dark midnight blue, with silk wadding for the padded bits. Incidentally, this table top ironing board is fabulous – it has little legs that fold out so it stands about 3″ high and the board is about half the size of a normal ironing board – it’s really useful (and no, I’m not on commission or in collaboration with ironing board companies! I found it in the supermarket while doing the weekly food shop. Imagine my excitement).

silk twill, table top ironing board

I used felt as a base on the front and back for stability and structure, and also for blocking out light. Woven fabric will always let some light in through its weave. I figured out a way of attaching the padding – I just stitched it down around all the edges to hold it in place so it didn’t shift around.

face-side sleep mask with silk wadding

When I had the two halves constructed I could attach some elastic (no clips!) to the side edges. I just backstitched up and down the short edge so that the elastic is attached securely.

sleep mask front and back in progress; silk twill, stitched with fine silk thread
half sleep mask showing clipped edges and elastic ready to be attached

And then it was just a matter of stitching the two sides together, with the elastic in between, which I did just by oversewing with wrong sides together. You could use narrow bias binding for a neater edge, I guess, or you could sew them right sides together and leave an opening to turn through. This way was good enough for me.

oversewing the two halves together

Finally I added a more decorative top stitch in a contrasting thread around the edges. And there, after a couple of hours or so, is a nice silk sleep mask – very lightweight, very comfortable, no plastic or polyester, no weird smell – and it delivered a pretty good night’s sleep too.

silk sleep mask

If you want to make one too, I’ve added a free PDF pattern download here:

Letting go

My social media break so far is very productive. I have more time and rather more energy already. I’ve been able to take a little step back and review some past work, which I’ve listed in my shop here.

I had a few 4″ textile collages left over from my 100 days of winter venture a couple of years ago, which I’ve turned into square greetings cards.

textile art cards

I’ve also uncovered some work from 2020-21, one of which is called Letting Go. I don’t have any particular attachment to my completed work, since most of the enjoyment is in the making of it. Also I don’t have much storage space and I will very quickly run out of room if I hang on to too much. I prefer to let the cloths fly out into the world and find themselves a new home; it feels as if that keeps the energy moving.

older works now available

And the rest of this week will be painting. Alas, this kind of painting:

not the kind of painting I really want to be doing, but necessary
%d bloggers like this: